
Trees don’t really stay neat on their own. After some time, branches grow in all directions, some get weak, and others just look messy. Many homeowners notice this when they are already busy with lawn mowing, trimming and edging, or doing basic yard work like edging and trimming lawn areas. It is frustrating in a way. A clean lawn with untrimmed trees still feels messy. Most people are not fully sure where to start. They might cut a few branches and stop, thinking it’s enough. But pruning is more than just cutting here and there. It helps the tree grow better, and it also keeps the yard looking calm and balanced.
By the end of this guide, the reader will have a clear idea of when to prune, how to do it step by step, and what small things actually matter. Nothing too complex. Just simple, useful steps that make sense.
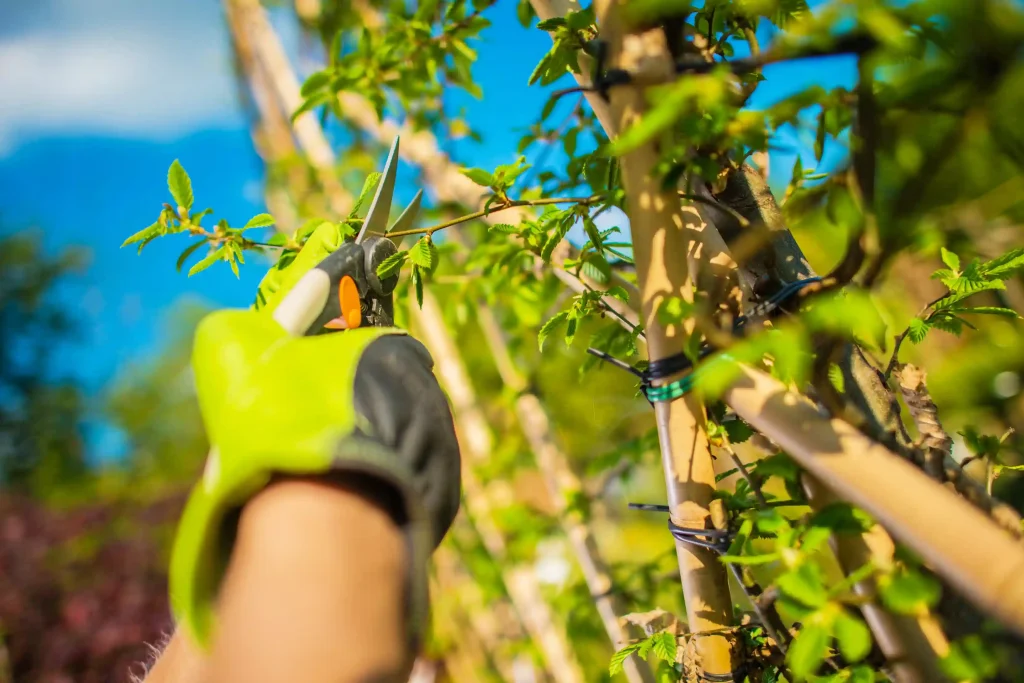
What is Tree Pruning and Tree Trimming?
Tree pruning and trimming sound the same, but they are not exactly equal. Pruning is when you cut off parts of the tree that are dead, weak, or not growing properly. This helps the tree stay healthy and strong. Trimming is a little different. It is done to keep the tree looking neat and tidy, or to stop it from getting too big or spreading too wide. Sometimes people trim just to match the look of their yard. Think of it like general yard care. When someone is trimming and edging your lawn, they are not fixing the grass’s health. They are making it look clean. Same idea here, just with trees. Most yards need both. A bit of pruning for health, and some trimming for shape.
Why Pruning and Trimming Matter
Trees can grow without help, that is true. But they don’t always grow in the best way. Some branches cross each other. Some get too heavy and start to bend. Others dry out slowly. When pruning is done at the right time, it removes these problem areas early. This gives space for better growth. Air can pass through the branches, and sunlight reaches deeper inside the tree. There is also the visual part.
A yard looks more open and calm when trees are shaped well. It feels balanced. In the same way people care about mowing, edging, and trimming the lawn to make it look neat, trees also need that small level of care. A person once ignored a small, broken branch after a storm. It didn’t look serious at first. But after a few months, that area turned weak, and the branch split more. It ended up needing a bigger cut later. Small steps early often save effort later.
Best Time to Prune Trees in Canada
Late Winter to Early Spring (February–April)
This is usually the safest time for most trees. During this period, trees are still in a resting stage. There are no leaves, so the structure is easy to see. Cuts made at this time heal faster when spring growth begins. Many people prefer this time because it feels easier to work. You can clearly see which branches need to go.
Summer Pruning (July–August)
Summer pruning is not for all trees, but it works well for some types like maple and birch. These trees can lose too much sap if cut in early spring. In summer, that problem reduces. This season is used for light trimming rather than heavy cutting, just small corrections here and there.
After Blooming Trees
Some trees bloom in spring, like lilacs or dogwoods. If they are pruned too early, the flowers for next season may not grow. So it is better to wait until the flowers fade. Then, prune lightly. This keeps the cycle going without losing blooms.
Species-Specific Timing
Not all trees follow the same timing. Oak trees, for example, should be pruned in winter to reduce disease risk. Elm trees are better pruned from fall to early spring. These small timing changes make a difference over time.
Step-by-Step Guide to Pruning Trees Properly
Step 1: Inspect the Tree
Before cutting anything, it helps to just stand back and look at the tree. Check its shape. Notice any branches that look off. Some may be hanging lower than usual, and others may look dry. This step feels simple, but skipping it often leads to random cuts.
Step 2: Remove the 3 D’s
Start with the basics. Look for branches that are dead, damaged, or diseased. These are often easy to spot. They may look dry, cracked, or discolored. Removing these first makes the rest of the process clearer.
Step 3: Choose the Right Tool for Each Cut
Small branches can be cut with hand pruners. Medium ones need loppers. Thick branches usually need a pruning saw. Using the right tool makes the cut cleaner. A rough cut can damage the tree more than expected.
Step 4: Use the 3-Cut Method
Cutting big branches in one go can pull and tear the bark, and that can hurt the tree. A slow approach works better here. Start with a small cut from the bottom of the branch. Then make another cut from the top, just a bit farther out. The branch usually drops off after that. What’s left is a short piece, and that can be removed near the base. It feels like extra effort, but it saves the tree from damage.
Step 5: Follow the 25% Rule
When a tree looks messy or too full, it’s easy to want to fix everything at once. That happens a lot. Someone trims a tree in one go, thinking it will look neat right away. But cutting too much can stress the tree, and it may not grow well after that. Only about one-fourth of the tree should be removed at a time. The tree gets time to adjust, and it stays in better shape over time.
Step 6: Improve Tree Structure
Some branches grow in the wrong direction. By removing some of them, the air moves better, and sunlight can reach deeper into the tree. It may not look like a big change at first, but the tree usually responds in a good way.
Step 7: Shape the Tree
After the problem branches are gone, shaping starts to make sense. This is where the tree begins to look more balanced. It’s better to keep things simple and close to the tree’s natural shape. Trying to make it look too neat or too sharp can give it an odd look. Most of the time, a light touch works better.
Step 8: Keep Tools Clean
This step is easy to ignore, but it matters more than it seems. Tools can carry small germs or diseases from one tree to another. A quick clean before and after use helps stop that. Some people forget this, then later notice another tree is not doing well. It’s one of those small habits that quietly makes a big difference.
Tree Pruning Rules and Permits in Canada
Pruning on Private Property
You are allowed to prune trees that are present on your personal property. It is wise to check local government rules before pruning.
Protected Trees
Some trees are protected based on their size or type. In such cases, permission may be needed before heavy pruning or removal. Rules can change from one city to another.
Public Trees
Trees on streets or in parks are not for public handling. Cutting or trimming them without permission is not allowed.
Conclusion
Tree care does not have to feel complicated. With a bit of attention and small steps, most trees can be managed well. It is not about making everything perfect. Just keeping things in balance. Yard work often comes together slowly. Someone might start with trimming the grass, then notice the trees need care too. It all connects in the end. For those who feel unsure or just want things handled properly, reaching out to a service like Harry’s Lawn Care can make the process easier. Sometimes it helps to let someone experienced take a look.
How often should I prune my trees?
Most trees do well with pruning once every year or two. It depends on how fast they grow.
Can I prune trees in summer?
Yes, but mostly for light trimming. Some trees actually do better with summer pruning.
What happens if I don’t prune my trees?
Trees may grow unevenly, and weak branches can become a problem over time.
How much of a tree can I safely cut?
It is safer to remove no more than 20–25% at once.
Do I need permission to prune trees in Canada?
For private trees, usually no. But for protected or public trees, rules may apply.