Assess Your Lawn and Plan Your Grading
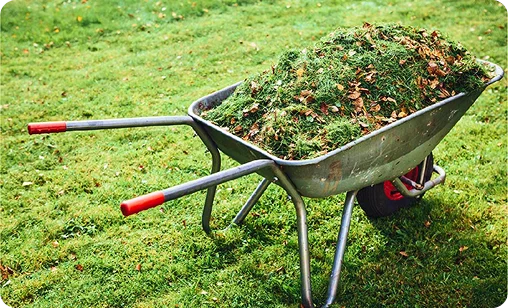
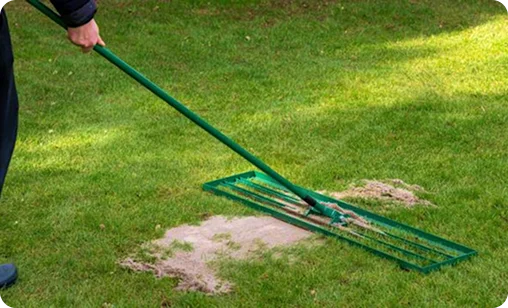
Remove Debris and Prepare the Surface
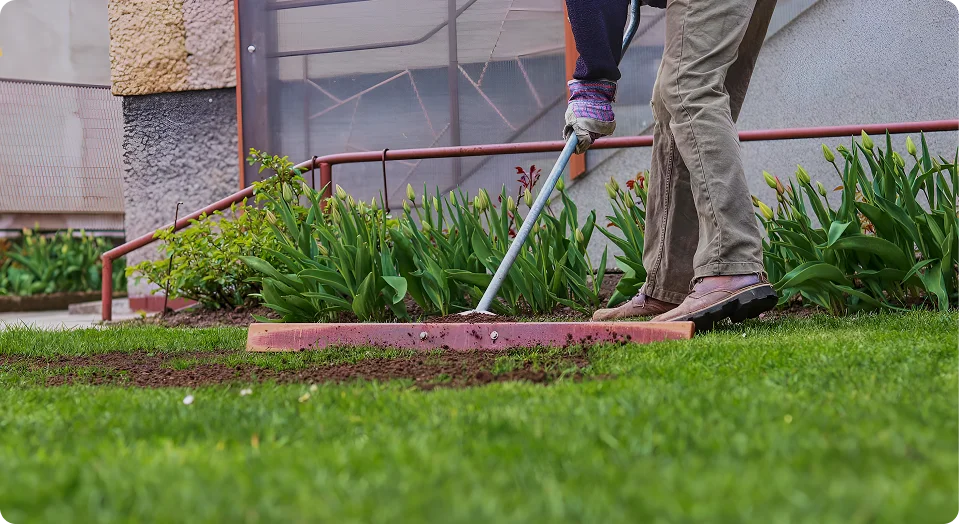
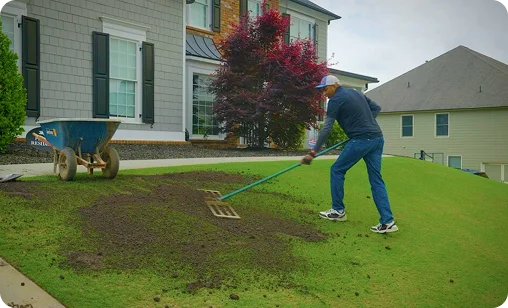
Fill Low Spots
Level High Spots
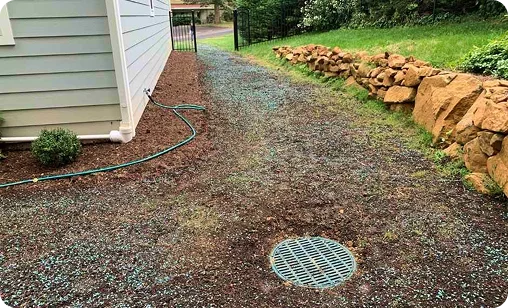
Grade for Proper Drainage
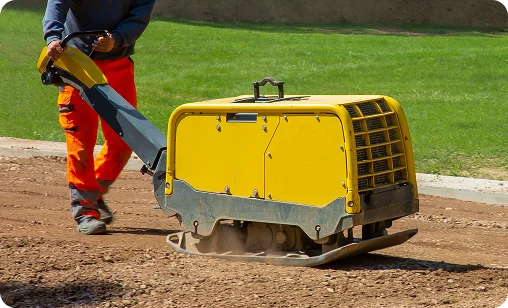
Compact the Soil
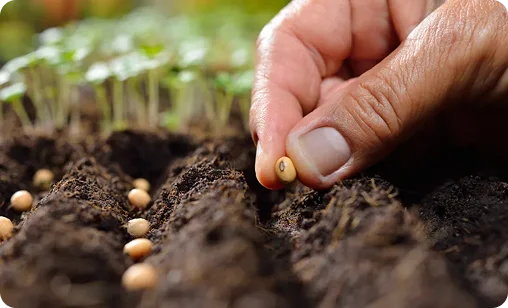
Reseed plants

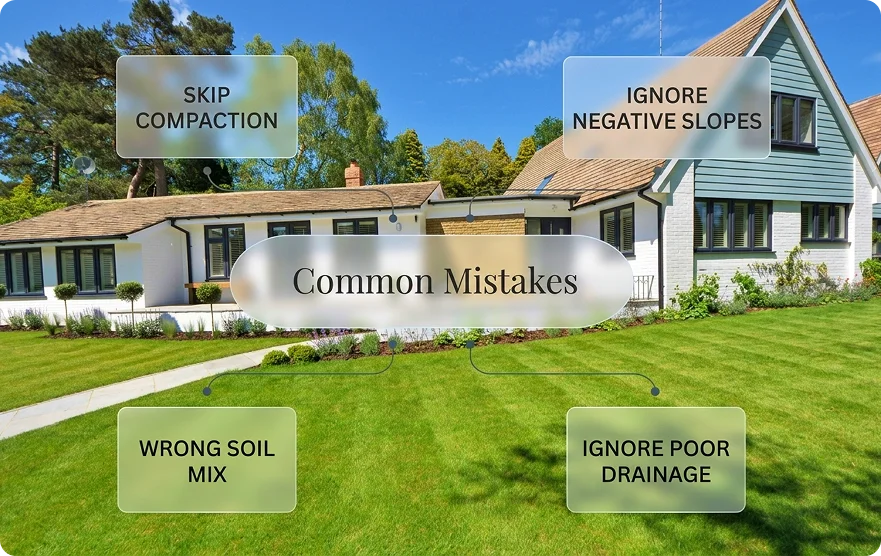
How to Level Ground for Raised Garden Beds
Raised beds need a stable base. Start by clearing the ground of rocks and weeds. Mix sand and topsoil for a solid foundation so the bed won’t settle unevenly. A slight slope helps water run off instead of sitting at the bottom. This step makes planting much easier and keeps your veggies from drowning.
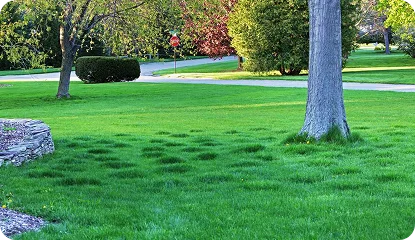
Fixing Standing Water in the Backyard
Low spots collecting water can be frustrating. Identify exactly where the water stays, add soil, and grade the area gently. You’ll want it to slope slightly toward drainage points. Doing this correctly is another example of how to grade a yard away from the house. Even a few inches of adjustment can save you from soggy shoes and muddy patches.
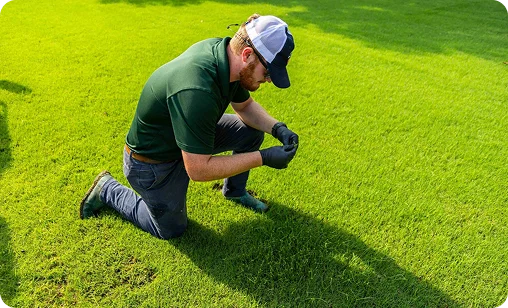
Choosing the Best Dirt for Grading the Yard
Not all dirt is equal. For best results, choose topsoil with a little sand. It drains well but still lets grass grow strong. Avoid heavy clay soil that traps water and creates new puddles. Mix soil gradually into low spots and high spots, keeping it smooth. This is the best dirt for grading a yard if you want a simple, effective fix.